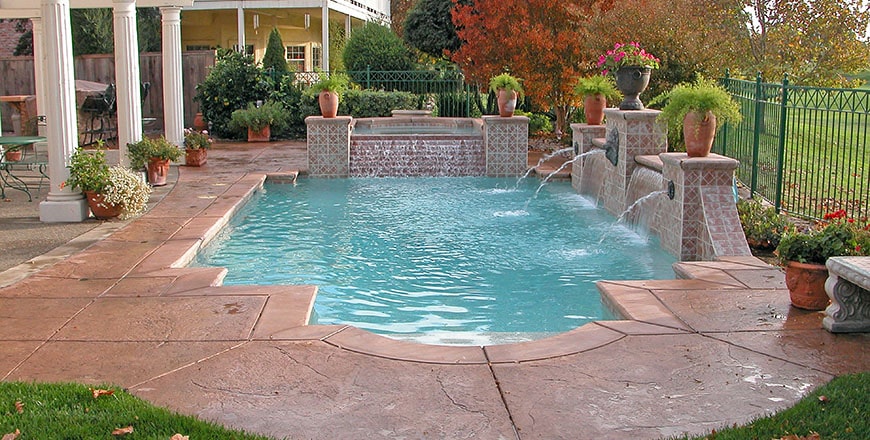
Having a vinyl swimming pool in your house is a cost-effective way of taking a dip and enjoying some relaxing time with friends and family. With time, external factors take a toll on the liner and it needs to be replaced. However, many people don’t know about what goes into the pool liner replacement process and ask swimming pool builders about it. We are going to take you through the process of replacing the pool liner in detail.
Prepare For The Replacement Process
One of the most important factors to begin with when it comes to replacing a pool liner is preparing for the replacement process. For instance, you should make sure the weather is clear and won’t be rain or winds in the next few days. Depending on the situation, you are going to need clear consecutive days to weeks for the process to go smoothly.
If the case is otherwise, the rainwater will fill the pool back up as we are replacing the liner or draining it. This is going to be a huge setback in terms of time and effort. Once you are in the clear about the weather, you should ensure you have all the supplies. If you are short on something, order and wait for it to get delivered before the process begins.
Furthermore, wear protective or safety clothes to protect your exposed parts from chemicals and other tools that might cause injuries. Amongst the parts ordered, you should also include the replacement liner. During the season, manufacturers are quite busy and it might take you some time for the liner to be delivered to your place.
Therefore, order the liner before anything else so that you have the most important component of the process and won’t have to wait for days. In addition to that, if there is a delay, you can use the time to remove the existing vinyl and fix any cracks, damage, etc.
Drain The Water
The next step of the pool liner replacement process is draining the water. This is a crucial step because water in your pool will make it slippery and hazardous. Plus, it makes it difficult to handle the liner during replacement as well.
If your pool is old, using the drain can also be a potential hazard as it might flood the pool’s foundation. This can make the pool unstable. The right thing to do is to divert the water away from the pool. Using a long drain hose is an effective way to do that.
This will help you drain the water away from the pool and keep the foundation dry.
Remove The Old Liner
Once the water is gone, you can start removing the existing liner. If the pool is still dry and there is a risk of slipping, you should wait a while until it dries. Then, proceed with removing all the pool accessories that might come in the way of removal and installation.
While removing any screws, bolts, or any other minor items, make sure to store them in a safe place to avoid spending time and effort finding them. Plus, the removed pieces should also be kept away from the new liner as they could scratch or even tear the liner.
Keep in mind that the liner will fall into the pool once you start removing it. To avoid this, you will need to do this slicing of the liner in very small sections. This is also done to prevent the liner from pulling on the pool walls. The last thing you are going to need is vinyl that is pulling on the walls as it can be a tricky situation to deal with and takes a lot of time.
Moreover, the liner itself is going to be big and heavy anyway, meaning you will need to cut it into pieces.
Prepare The Floor & Walls
Now that the liner has been removed, inspect the floor and sand filler at the bottom of the pool. It might be that it is uneven and needs smoothing. This is most probably due to holes that require filling and spreading the sand evenly. To make sure the filling is level, use a carpenter’s level.
However, if you are already using a pool pad, you should not have to worry about adding anything else. Next, move onto the walls and prepare them by ensuring the holes made by bolts and screws are covered using duct tape.
Additionally, check for rusted or corroded areas and remove them using sandpaper. This is important as the new liner may not settle in properly. Perhaps the most important thing you need to consider is the edges of the pool where mounds of undisturbed earth are found. They serve as a resting bed for the liner.
Alternatively, you can also opt for a foam cove. Unlike other options, foam coves last longer and are a lot easier to install.
Installing The New Liner
Now that everything before installing the new liner is done, it is time to make way for the installation process. Before opening the liner box, you need to go through the information mentioned on the box to make sure it is of the right size. If the measurements are not right, do not open the box and contact the supplier immediately.
To make the process easier, we suggest installing the liner on a warm and windless day. The liner is much easier to handle when it is warm. It’s optimal for the lining process if you work in a temperature around 65 degrees. If the temperature is lower, you will need to warm up the liner slightly by placing it in a heated or warm room.
Then, open the liner box and take your time doing it. Do not use any sharp objects as they might damage the liner. While placing the liner, we have to make sure there is no air left underneath and might need to vacuum to suck the air out.
This also helps remove any wrinkles in the liner. Once the liner is completely vacuumed, the liner will need to be cut in different areas to accommodate the main drain, skimmers, etc. Next, the pool will be filled to about 6-8 inches into the shallow end.
Once the level is achieved, the liner vacuum will be pulled out from the pool and the liner will be tucked into the walls. Finally, after putting in the final touches, your pool will be ready to use.
The process may take 5-7 days. If these sounds long, ask outdoor fireplace builders Long Island how long the homeowners have to wait before they can use the fireplace. It’s 30 days.
How To Maintain The Pool Liner?
By now, your pool must be looking as good as new. If you want to keep it looking that way, you will need to make sure to maintain it regularly. Vinyl pools will only last and look good as long as you are willing to put in some time and effort. You should note that vinyl tends to stain and form wrinkles.
This means if you have friends and family members taking a dip now and then, you will need to remove the stains and ensure the pool is wrinkle-free. Fortunately, there are a lot of off-the-shelf products available that will help you keep the pool looking new.
At the same time, do not use sharp objects, abrasive chemicals, and harsh cleaning techniques as such factors can equally damage the vinyl as well. If you are not aware of the type of products to use and the technique, you should hire an expert.
Hiring an expert is going to cost you money but will ensure the pool looks brand new for years to come.
Conclusion
Replacing a pool liner takes a lot of skills and time. You have to keep the minor details and steps in mind to complete the project successfully. That said, make a checklist and ensure you complete all the prerequisites. If possible, have someone help you out with the process so hire pool contractors Long Island.
